How to Download and Set Up Office 365 Applications (Windows)
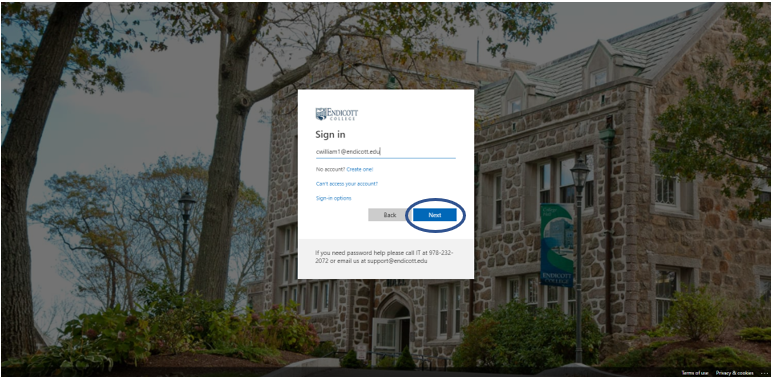
1. Go to https://login.microsoftonline.com/?whr=endicott.edu
2. Enter your full Endicott e-mail address and click Next
3. Enter your Password and click Sign In

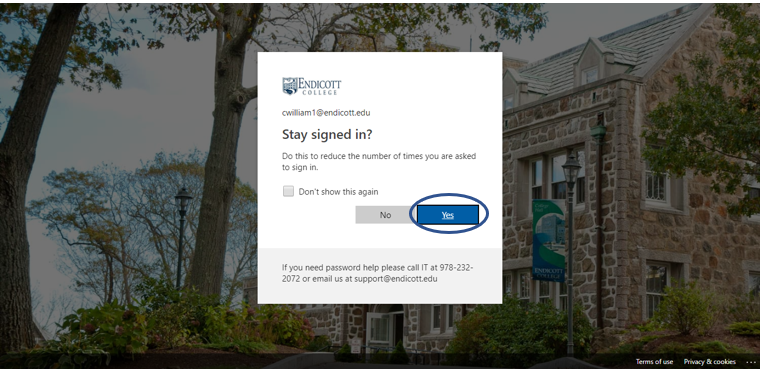
4. You may get a message like this, click Yes
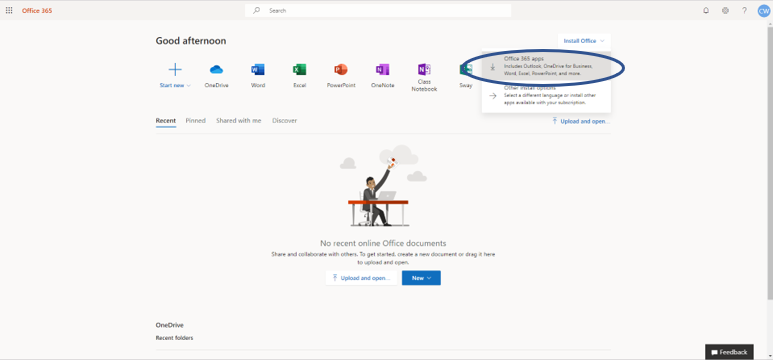
5. You should now be presented with the main Office 365 page. Click on Install Office and then click on Office 365 Apps
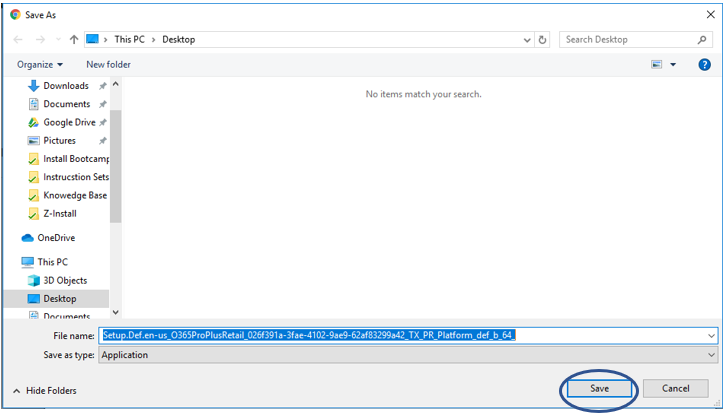
6. Next, decide where you want to save the Office installer. We recommend saving to your desktop and then deleting the installer once you're are done. Click Save
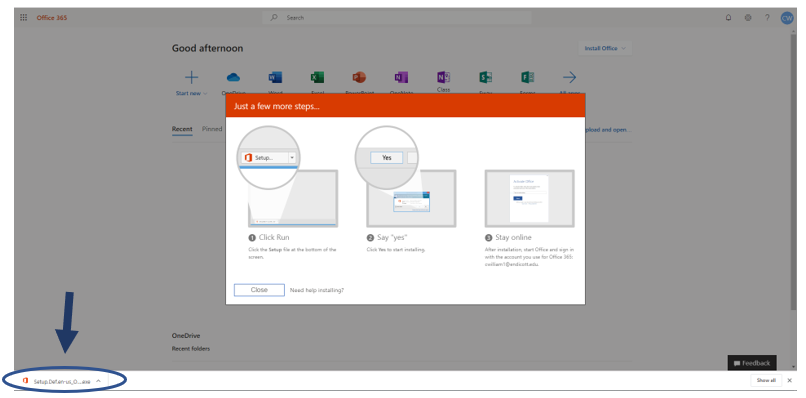
7. Click on the installer to start the Office install (should show up here if you using Chrome, if not, find where you saved it and double click to start the install)
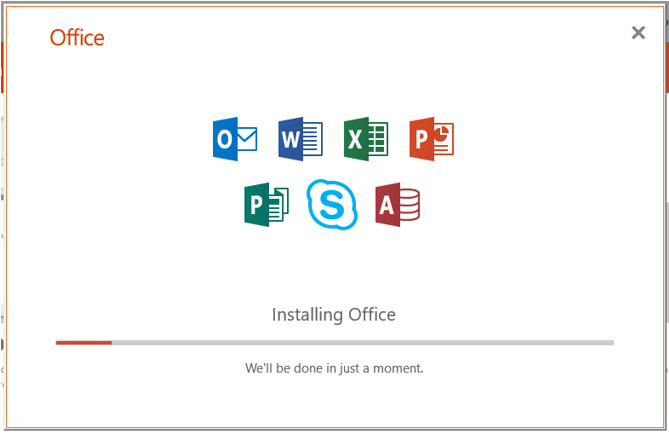
8. Office 365 will now install
9. Once you see this message the install has finished and you can click Close

10. Restart your computer. You may notice Microsoft Teams automatically launches at start-up, steps to fix this are ahead
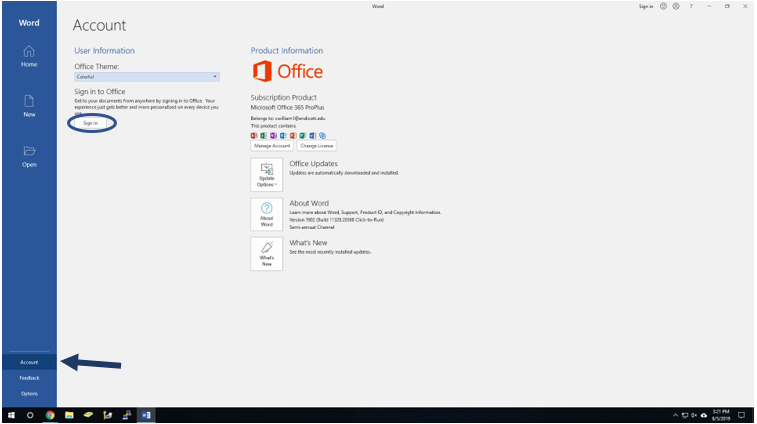
11. Open any of your Office 365 applications ( Word, Excel, PowerPoint, etc). Click Account and then Sign In
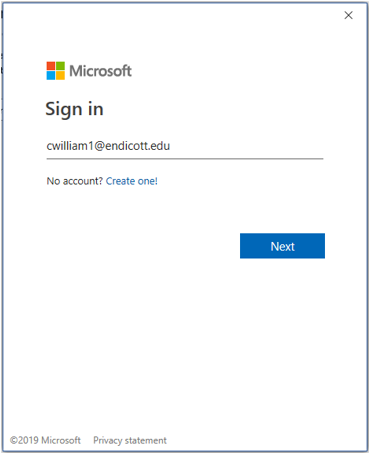
12. Enter your full Endicott e-mail address and click Next
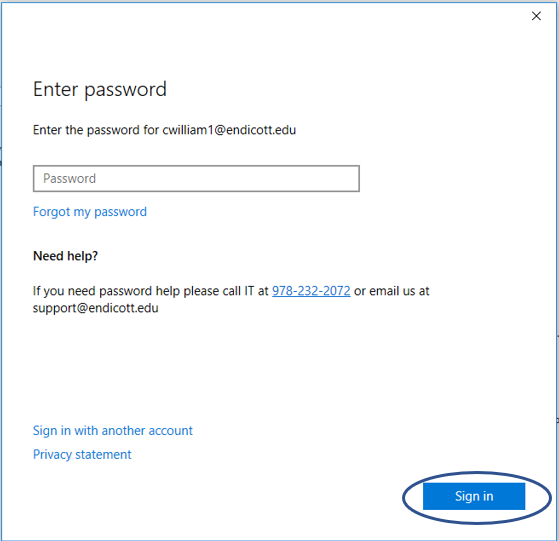
13. Enter your password and click Sign In
14. You may get this message asking if you want your organization to manage your device. Uncheck the checkbox and click Yes.
15. You have now successfully downloaded and activated your Endicott Office 365 Applications
One last thing we need to do is disable Teams from auto-launching at startup. Teams is a feature built into Office 365 and this step needs to be done in order to prevent Teams from auto-launching every time you restart your computer. To do this:
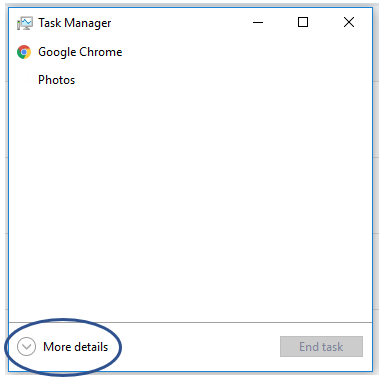
1. Hit control-alt-delete on your keyboard and select Task Manager
2. Click More Details
3. Click on the Start Up tab, select Microsoft Teams, and click Disable
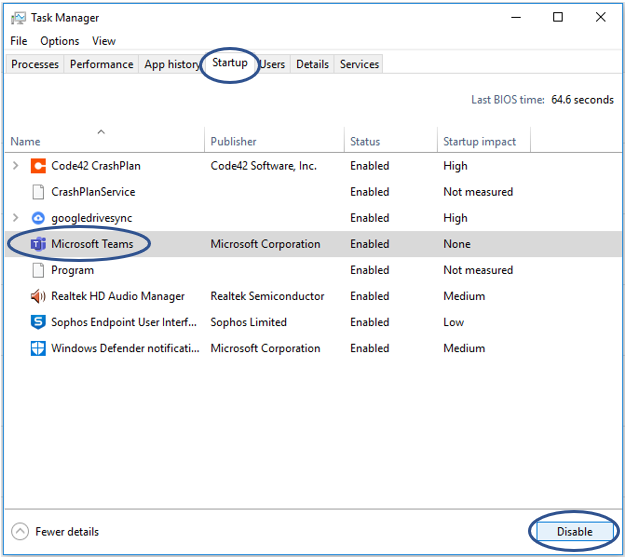
4. Done! Microsoft Teams is now disabled from start-up and your Office 365 install is complete