Scheduling a Secure Meeting - Zoom
1. SET-UP a ZOOM MEETING with a REQUIRED PASSWORD
- Open a web browser or your zoom app and log in to Zoom.
- Click on > “Schedule A Meeting” or the “Schedule” icon on the app.
2. ENTER or EDIT MEETING DETAILS
-
Scroll down on your browser to find the “Meeting ID” field > Select “Generate Automatically”
!!DO NOT SELECT > the “Personal Meeting ID” button.
This feature uses your unique Zoom ID by default and if your meeting ID is discovered by an unwanted attendee, they will have the ID access to each of your sessions.
You will need to schedule each meeting individually with an automatically generated unique ID code provided by Zoom.
-
Scroll down on your browser to find the “Meeting Password” field or the “Password” section on the App.
-
Check the box that says “Require Meeting Password” and set your password using numbers, letters, symbols or a combination of all.
!!DO NOT SELECT the “Recurring Meeting” box.
This feature uses your unique Zoom ID by default and if your meeting ID is discovered by an unwanted attendee, they will have the ID access to each of your sessions.
You will need to schedule each meeting individually for security.
- In the “Meeting Options” field > Select “Mute Participants Upon Entry”.
- In the “Meeting Options” field > Select “Enable Waiting Room”.
3. COMPLETE YOUR SCHEDULED MEETING SET-UP in the fields described below
-
“Topic” field > Name your meeting
- “Description (Optional)” field > Add text relevant to your attendees
- “When” field > Select the date and time for your meeting
-
“Duration” field > Set meeting to run one hour past the end to avoid cutting off discussion and to manage any troubleshooting during a session.
- “Time Zone” field > Select (GMT-4:00) Eastern Time (US and Canada)
!!DO NOT SELECT the “Recurring Meeting” box.
This feature uses your unique Zoom ID by default and if your meeting ID is discovered by an unwanted attendee, they will have the ID access to each of your sessions.
You will need to schedule each meeting individually for security.
- In the “Meeting ID” field > Select “Generate Automatically”
!!DO NOT SELECT the “Personal Meeting ID” button. This feature uses your unique Zoom ID by default and if your meeting ID is discovered by an unwanted attendee, they will have the ID access to each of your sessions.
You will need to schedule each meeting individually with an automatically generated unique ID code.
4. CONFIRM THAT YOUR MEETING PASSWORD IS STILL SET FROM YOUR INITIAL SET-UP in the fields described below
-
“Video Field” > Select the “Host” video option you prefer.
- “Video Field” > Select the “Participant” video option you prefer.
Note, that added security measures can be taken by not automatically allowing participants to join with video. -
“Audio” field > Select the “Both” button.
-
“Meeting Options” field > Select “Mute Participants Upon Entry”.
-
“Meeting Options” field > Select “Enable Waiting Room”.
!!DO NOT SELECT the “Only Authenticated Users Can Join” box.
This only applies to users with active Zoom accounts.-
REVIEW YOUR MEETING DETAILS > Then Select “SAVE”
5. HOW TO INVITE ATTENDEES WITH THE PASSWORD INCLUDED
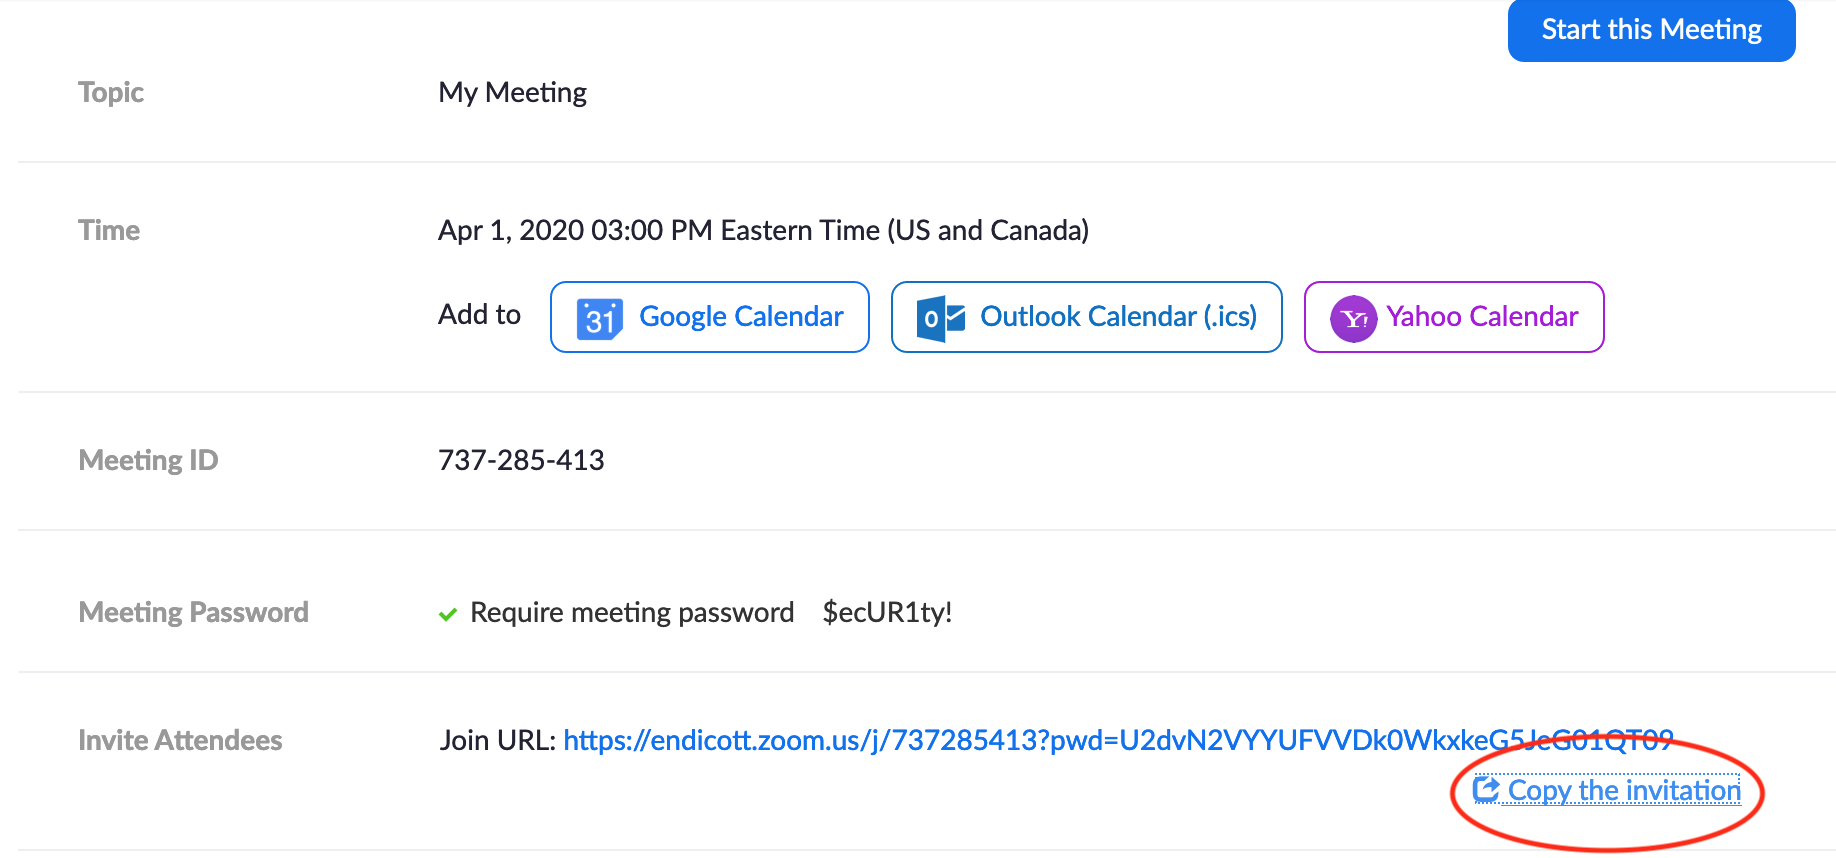
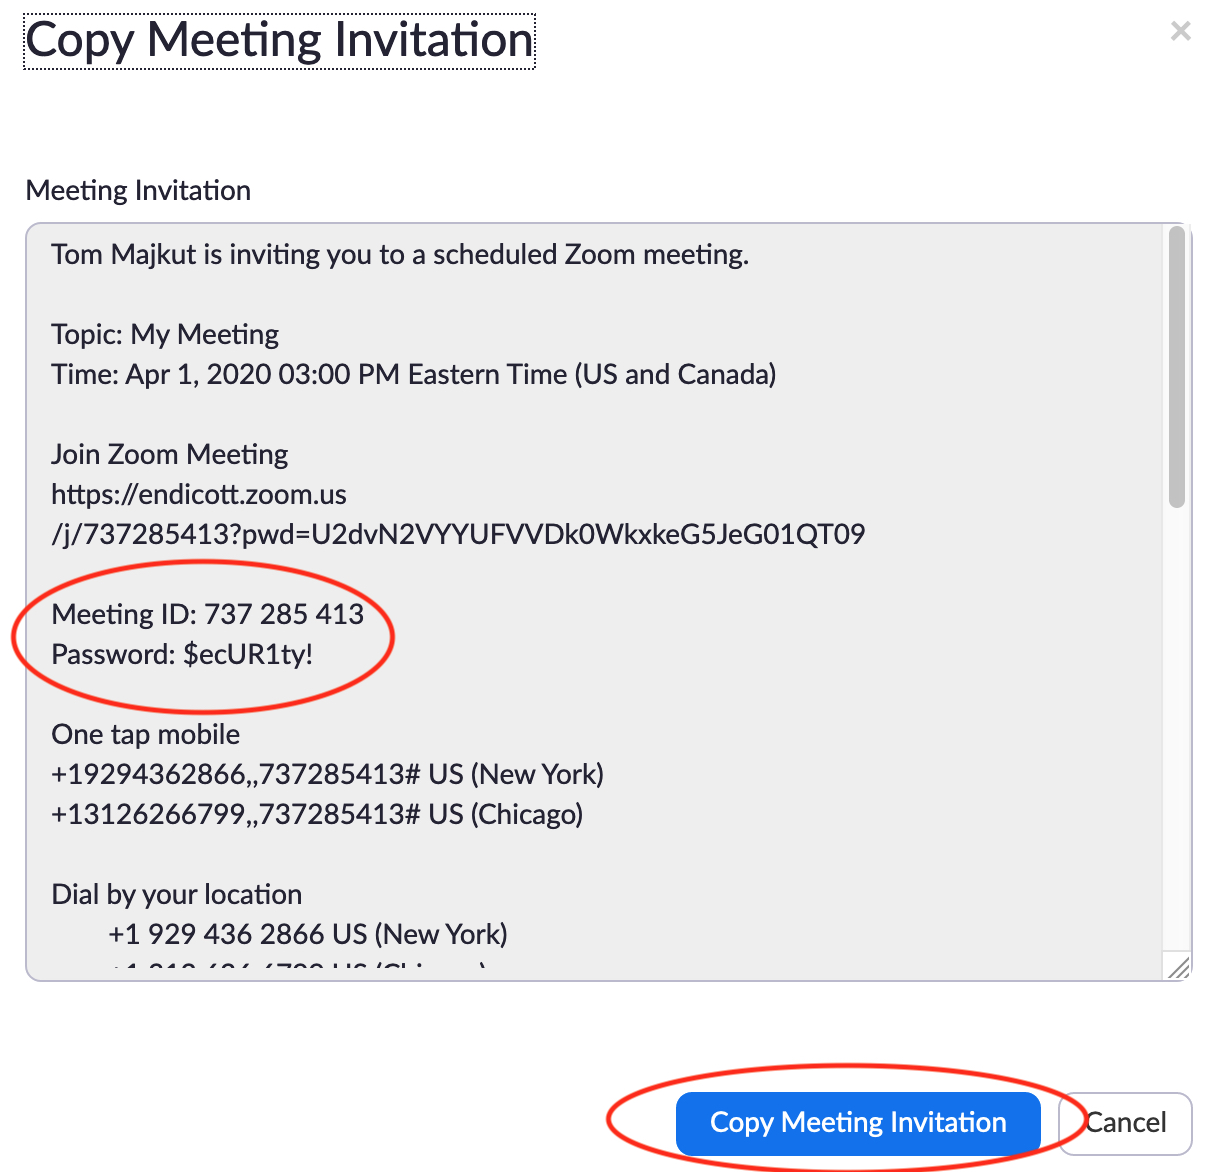
- Your selected password will be included in the Zoom (NOT CANVAS) generated invitation to your event and can be sent to your attendees via email or copied text.
- You must copy the invitation generated from Zoom for the password to be included in the message, sharing only the URL link will not include the password.


TO DOWNLOAD THE ZOOM APP:
- click the URL and download “Zoom Client for Meetings” : https://zoom.us/download