Pushbutton Classroom Controls (User Guide)
The means of operation for standard, permanently installed classroom AV systems are very similar to each other. This document will NOT address AV carts, Conference Rooms or Specialty classrooms that have touch screen control panels. A guide for touch screen control panels in classrooms can be found using the link below:
https://endicott.freshservice.com/a/solutions/articles/10000092406
The majority of permanent classrooms use the control panel depicted below on the left. Classrooms in the Wax Academic Center are equipped with the control panel depicted below on the right. ALL classroom push button control panels follow the same basic layout. Display on/off controls are located in the upper left of the panel, audio volume controls are in the lower left and the input selection buttons well as video mute control are to the right. All control panels of the same physical type will follow the same button arrangement

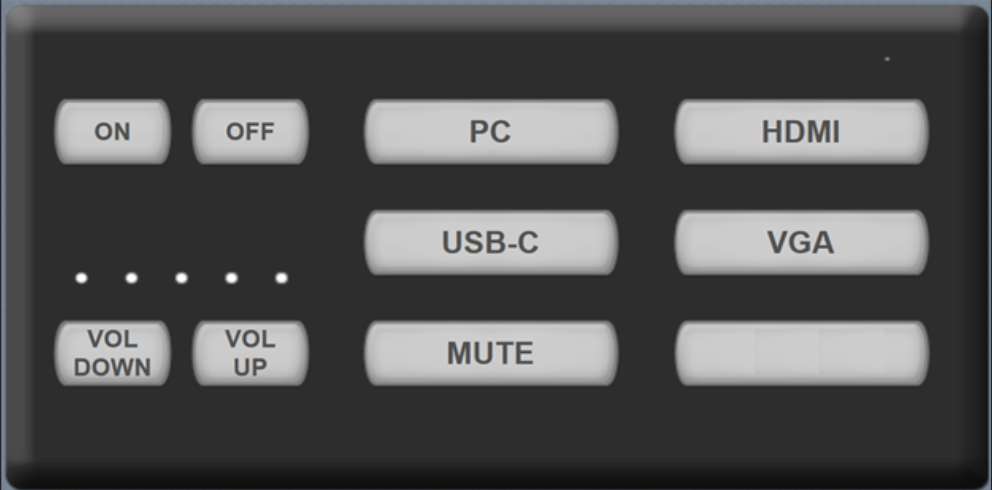
Display ON and OFF buttons:
In the upper left-hand corner of the control panel. When either the On or Off button is blinking slowly, that indicates that the main display is in the process of turning on or off. Depending on the make/model/age of the display, the blinking will last for between 15 and 60 seconds. While the On or Off button is blinking, the panel is locked out to prevent conflicting commands.
Volume Control
On the older model control panel, you will find a knob accompanied with a line of LEDs to act as a volume indicator. Turning the knob clockwise will increase the volume and turning it counter-clockwise will decrease the volume. The knob does not have a stopper in it, this means that the knob will continue to spin even if the system is at 0% or 100% volume.
On the newer control panel, pressing and holding the VOL UP and VOL DOWN buttons will act like turning the knob or a series of presses and releases will adjust the system volume. On this panel, the system volume indication LEDs are located above the volume buttons.
Input Options:
On the right-hand side of all control panels, you will find the input options available in that space. For all standard classrooms using each respective model of control panel shown above, the buttons are always in the same order. The input that is selected in the system to be shown on the room's main display will be illuminated brighter than other buttons.
Video Mute
When the Video Mute is engaged: Only video going to the room's main display will be stopped. Screen sharing via Zoom will still be visible to attendees of the meeting and/or the recording.The Video Mute does not impact room audio, Webcam content or the USB microphone in any way. The video mute for all classrooms is set with a 5 minute timer that will automatically turn the mute off 5 minutes after the last time the control panel was touched. This is because when the video mute is engaged, it is sometimes difficult to tell if the projector is on or off. In past years, the projector mutes were engaged and often forgotten about.
If when you press a button and all buttons on the control panel blink red, please call AV at 978-232-215. This issue can be resolved over the phone.