An Intro to Classroom Hybridization Kits
Intro:
Classroom Hybridization Kits are a standardized set of parts installed into all classroom spaces intended to permit Hybrid learning from any classroom space on campus.
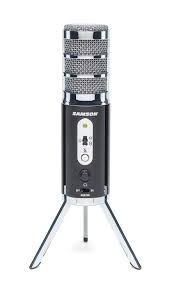
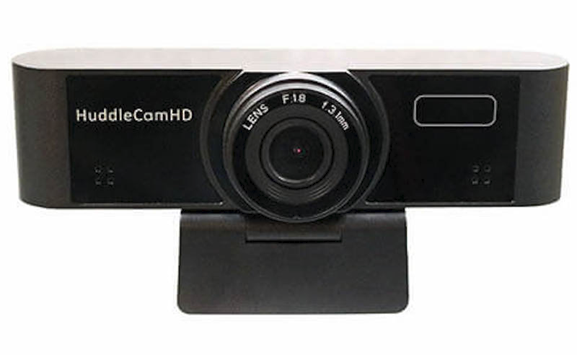
All classrooms on campus with very few exceptions are equipped with identical USB microphone (Samson Satellite) and a USB web camera (HuddleCamHD). These parts were installed to augment the web camera and microphone that is already in place for being built into all but 5 classroom teaching computers. For the 5 spaces that do not have a microphone and camera built into the computer, a second HuddleCamHD was installed. This means that EVERY classroom on campus is equipped with 2 camera and at least 1 microphone to allow for teaching student(s) online. The inclusion of the Hybridization Kits allow for ad hoc session recording and synchronous teaching with any number of people at a distance.
Both the camera and microphone were selected and installed to require as little physical contact as possible. When the classroom computer turns on, so will the microphone and cameras. When you open the Zoom app or sign into Canvas and start a Collaboration session, the cameras and microphone will be available to you.
The parts that you can see:
In addition to the microphone and web camera(s) there are other components that reside inside of the teaching station to help ensure that the system is as reliable is possible with very little if any need for adjustment or physical contact.
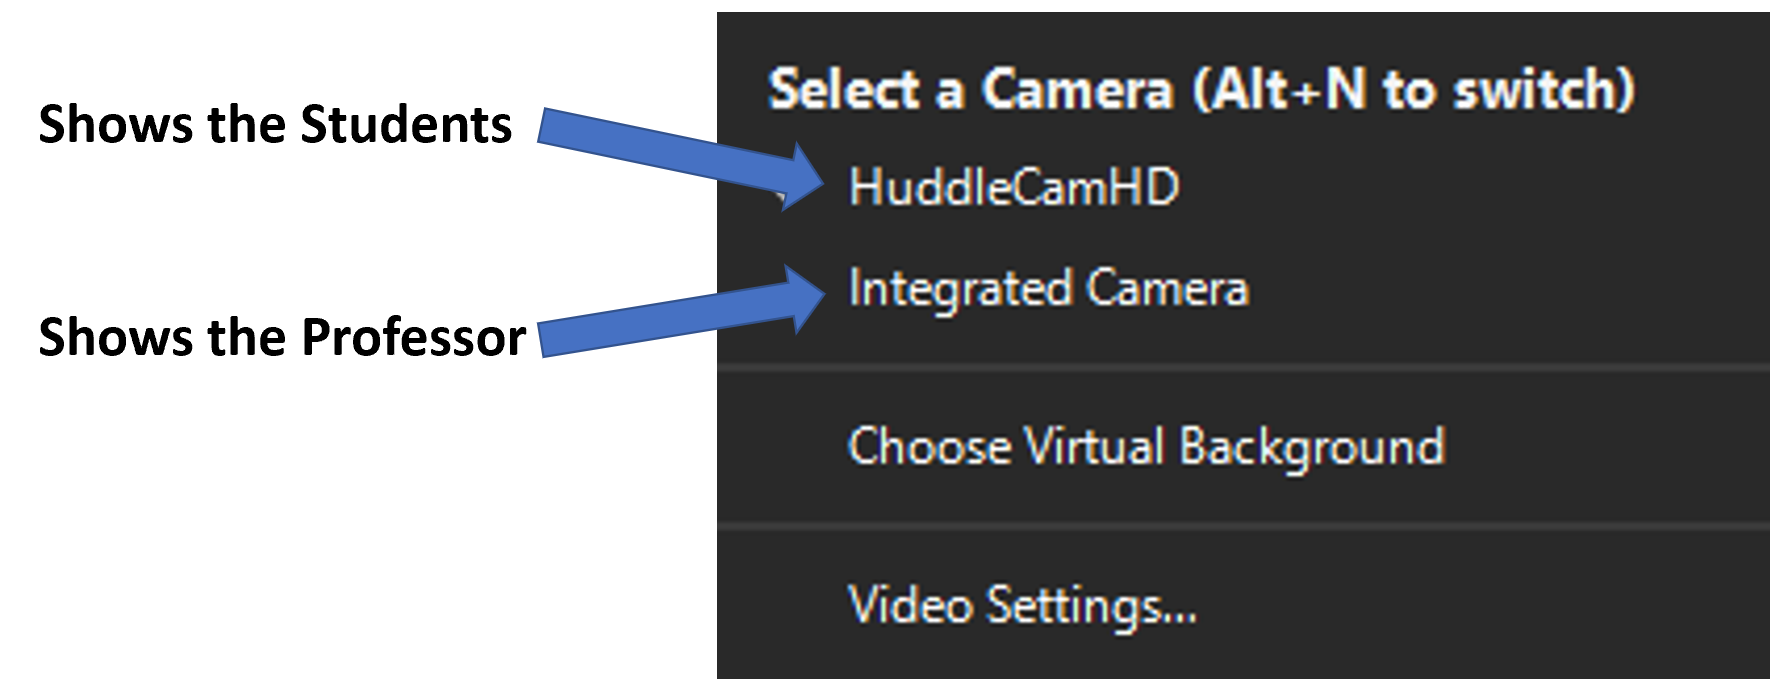
Settings for the WebCams in Zoom:
In the rooms where the computer does not have an Integrated Camera, there will be 2 HuddleCamHDs shown. If additional video inputs are attached to the computer, this list will get longer.
A close up on the microphone:
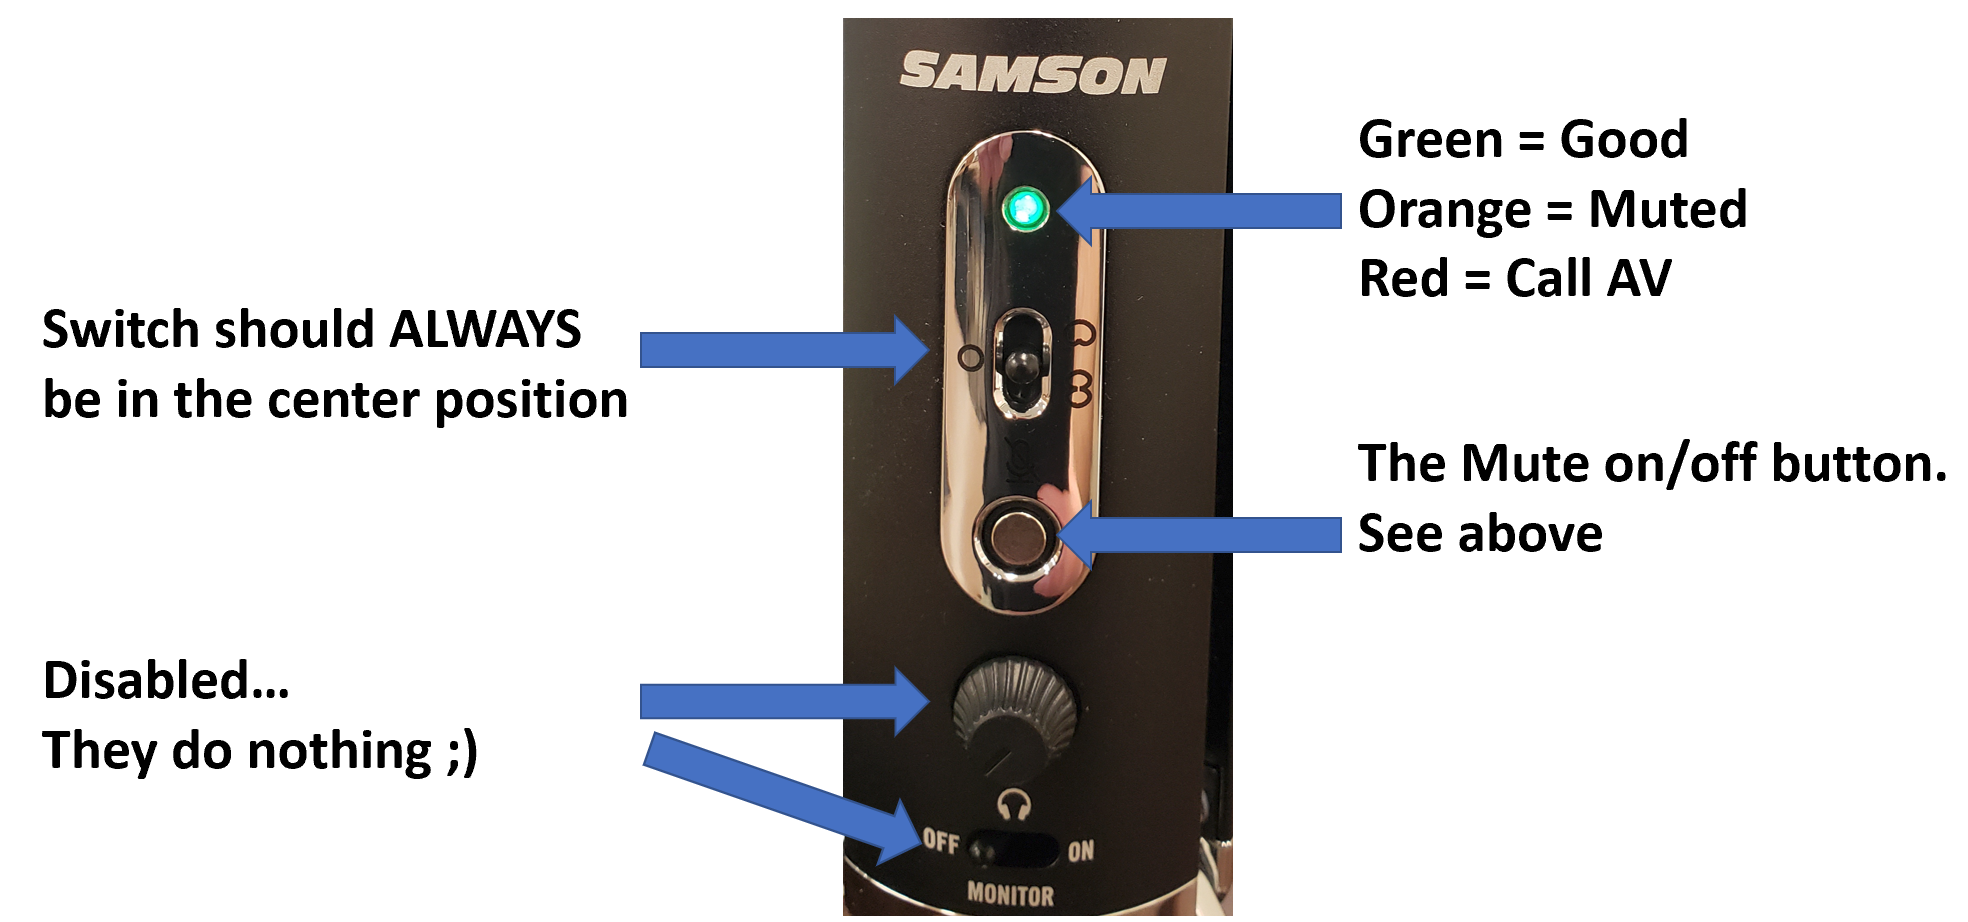
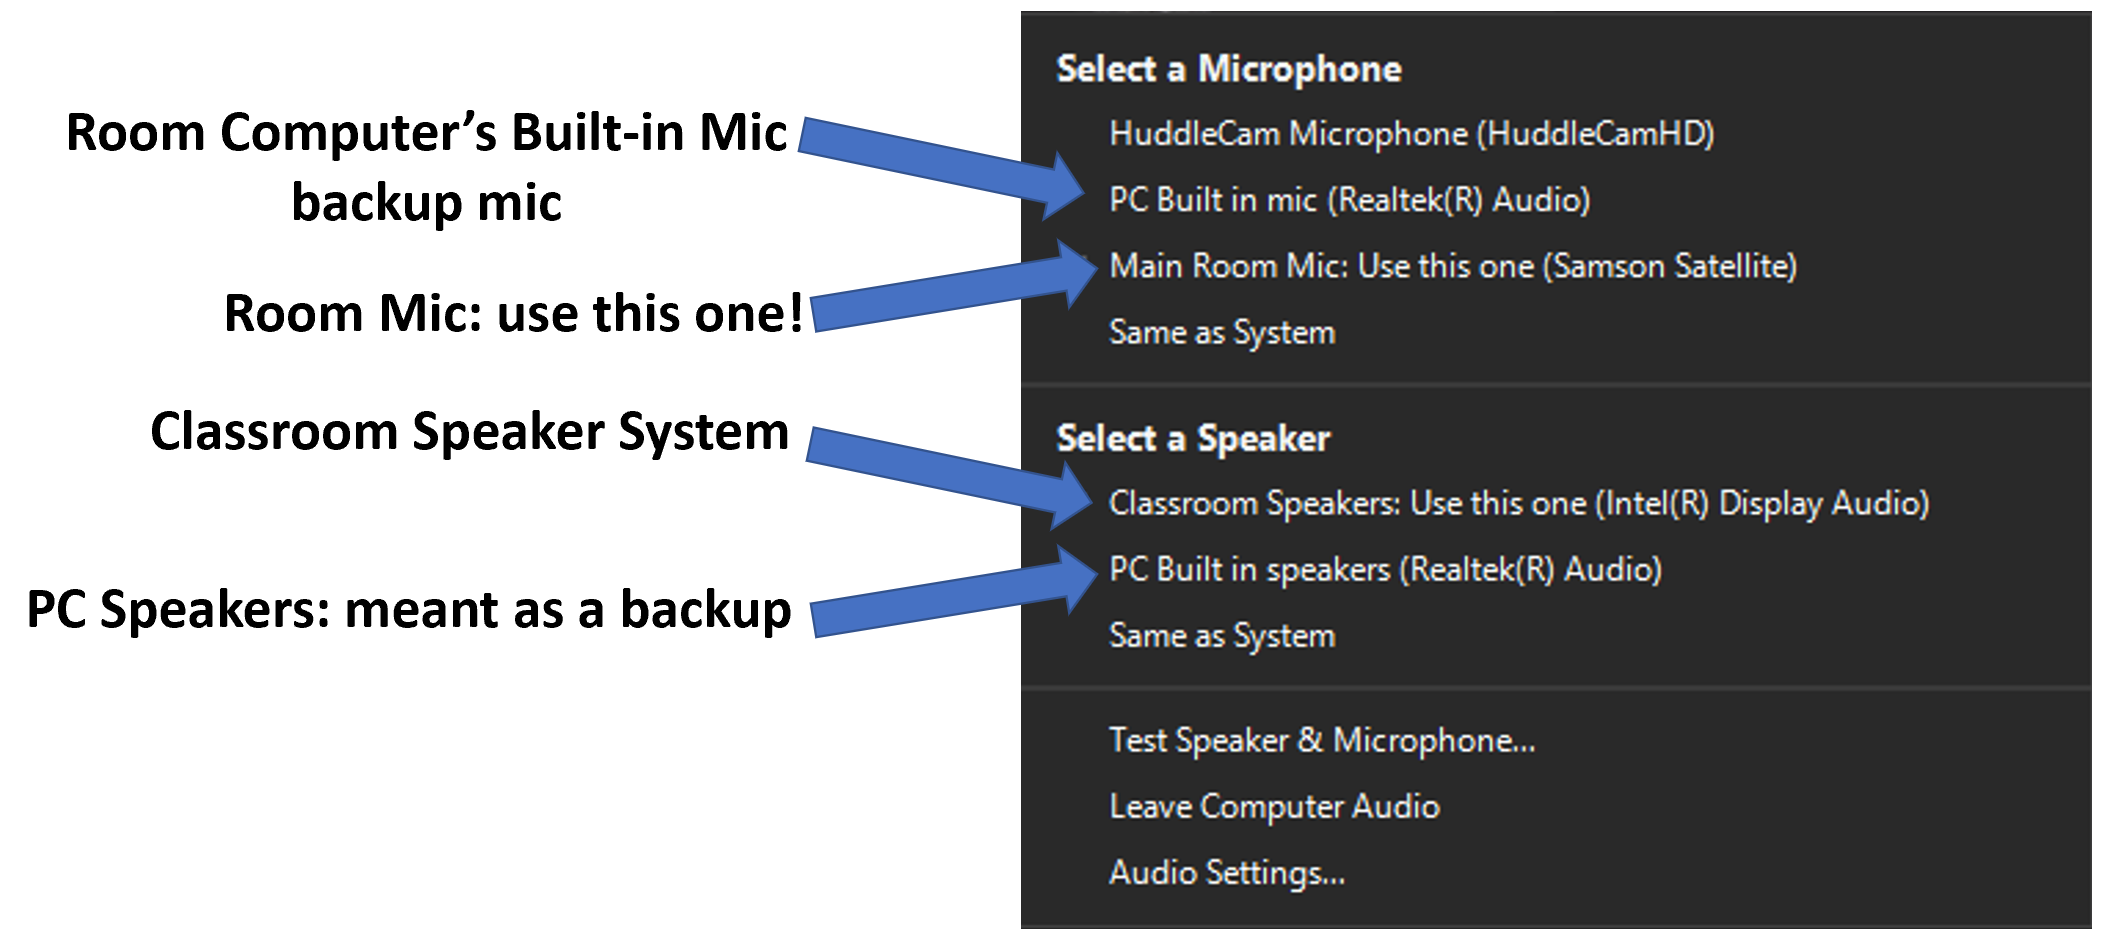
Settings for the microphone in Zoom:
You will note that the HuddleCam Microphone is also listed, this is there to act as an emergency backup microphone. The audio quality of the HuddleCam is noticeably lower than the Main Room Mic, but if there is an issue, it is available if you don't feel that you have the time to call AV for assistance.
To view the audio menu in a Zoom meeting, look in the lower left corner of the Zoom window and click the up carrot (depicted below circled in red). This will display the Call Audio Settings.
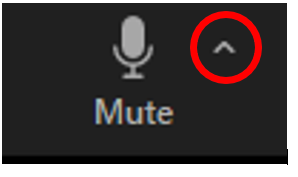 Click the up carrot to display audio settings
In the audio menu, you have the ability to actively change between different microphone and speaker options that are detected by the computer. The best quality option for audio inputs and outputs are noted by having Use this one after the description. The prescribed best audio devices have been set as the system defaults for when Zoom sessions start.
If you believe that there is an issue with the microphone or speakers, Zoom has a built in audio testing system. To begin a speaker and microphone check, look towards the bottom of the audio menu for Test Speaker & Microphone... the test process begins with a repeated playback of the Zoom incoming call ring. If you can hear the chime through the correct speaker, click Yes. If you can't, select a different speaker option from the drop-down menu until you find an output that is working or call AV support at 978/232-2152. When you can hear the chime and have clicked Yes, the window will change to the microphone check, you will be prompted to speak and then allow Zoom to play the audio back to you, if you can hear your playback and believe that the correct device is selected, click Yes to exit out of the test window or change the microphone to another listed option until you find a working option. If you believe that there is a problem with either the microphone or speakers for the room, please call AV support at 978/232-2152 for immediate assistance or submit a ticket here in FreshService.

----- This concludes The Intro to Classroom Hybridization Kit. ----