Team Room Teaching Stations: User Guide
This document will cover the standard operation of the Team Room Classroom design. There are 3 classrooms on campus that are of this design and though the control panel color pallets may be different, the operation of all three systems are identical. The three Team Rooms are Wax 331, Gerrish 247 and Gerrish 347.
When you approach the teaching station, the control panel screen will automatically light up if not already active. On the Welcome Screen, you are presented with 3 activation options. Press the button that reflect how you want to use the system. The panel will beep to indicate that the button press has been detected. When you hear a beep, you can remove your finger from the panel. You will have the ability to change your mind without turning the system off.
All Displays On - Full system activation. Both projectors and all 8 TVs will be turned on.
LCD Projectors Only - This option will only activate the LCD projectors and lower their respective screens. Be advised, that due to the layout of the room, not every student seat will have an unobstructed view of a projector screen.
Team TVs Only - This option will only activate the team TVs around the room
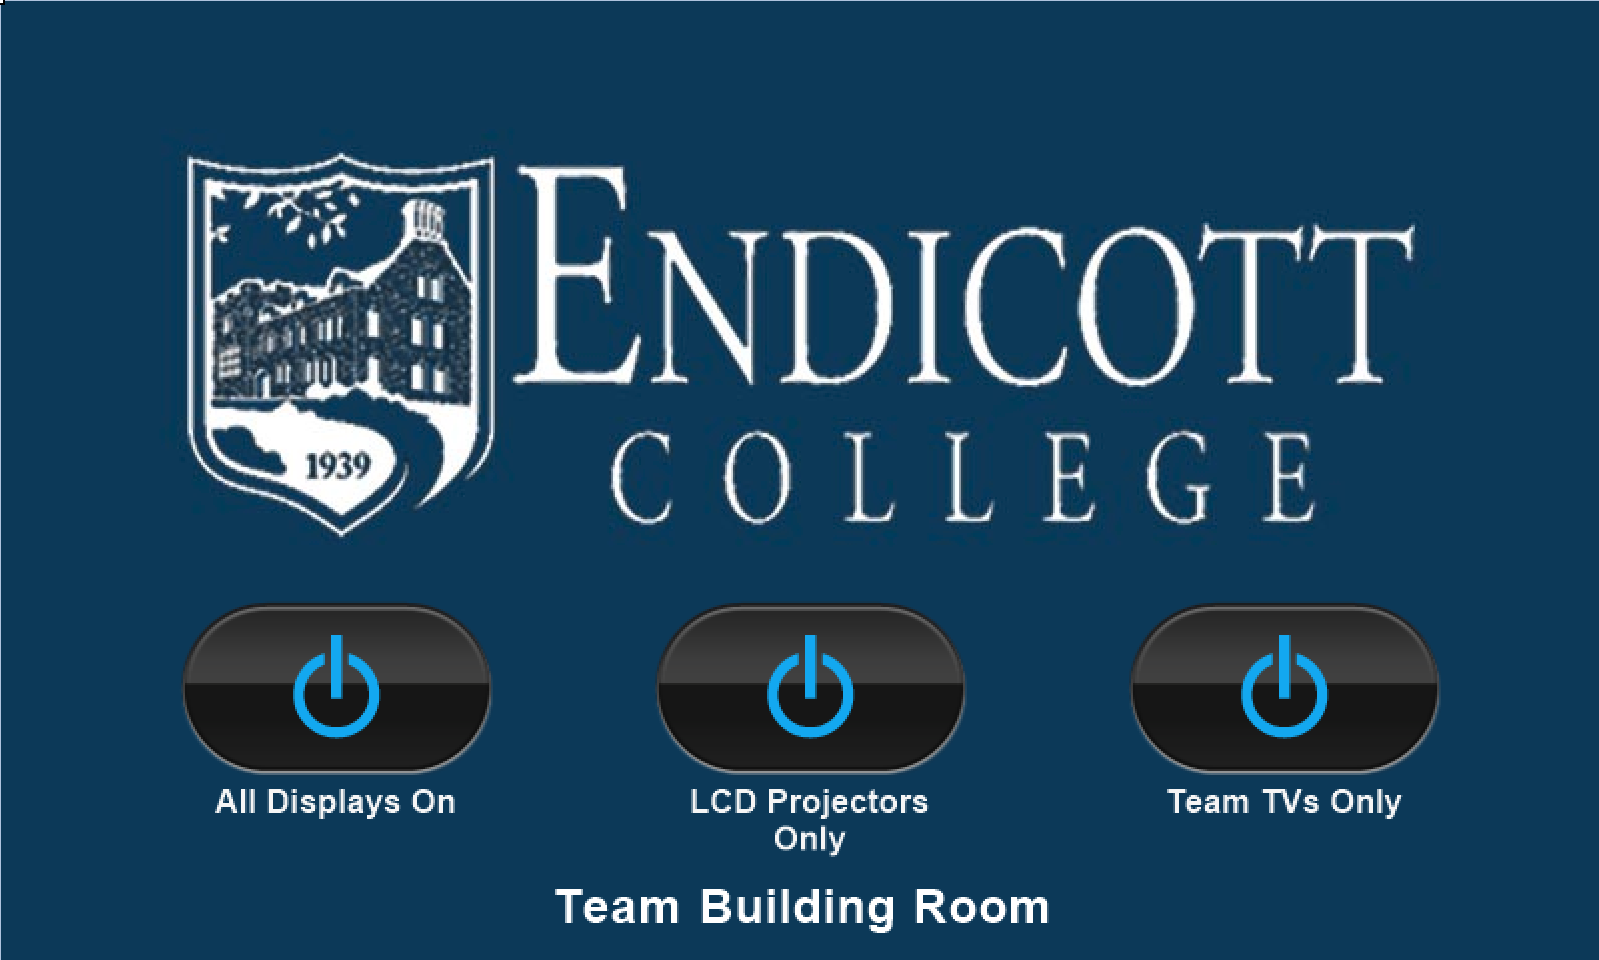 Team Room Welcome Screen
As the system turns on, the Welcome Screen will be replaced with a Startup Screen. This screen is linked to the control computer and will prevent changes until all of the selected devices report as ready. In most cases, this screen will be displayed for less than a minute.
 Team Room Startup Screen
Once the system is ready to use, the Startup Screen will be removed from view to showing the Main Page. It is from this page that all options from the room are applied.
From this page you can:
- Select an input to show on the projectors and/or team TVs
- Select the destination of the input
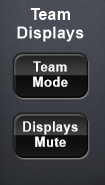
- Turn Team Mode on and off
- Adjust Volume of the room speakers
- Turn individual projectors on and off
- Mute the video going to each projector
- Mute the video going to the Team displays
- System shutdown process
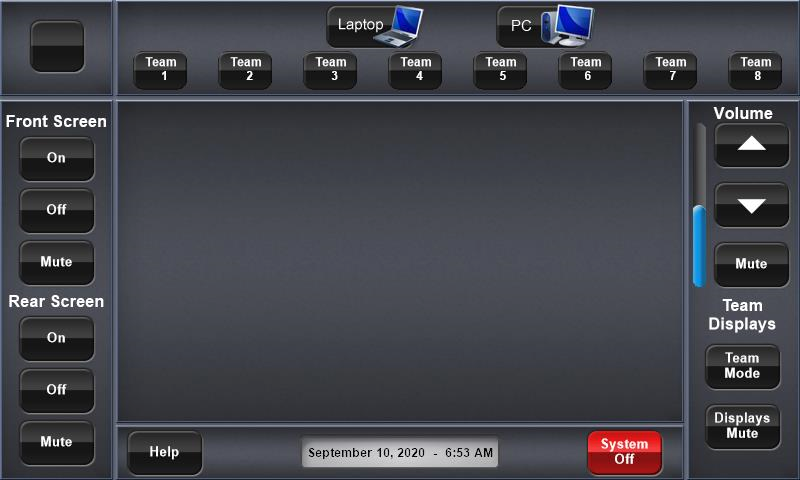 Team Room Main Page
The process of changing what input is being displayed on any of the room displays has two steps. This process can be repeated at any time while the system is active to change what is displayed.
Step 1 - Select the Source from the uppermost part of the control panel Main Page. Only 1 Source can be selected at a time. Once a Source button has pressed, a Destination panel will be shown in the center of the Main Page.
 The System Input Menu
Step 2 - Select the destination. From the Destination panel now shown on screen, select the display group that you want the Source to be displayed by. The only Destination options for this space are Main Screens and Team Displays. The room's system was specifically designed to have the projectors act as 1 unit and the Team Displays to act as one when not in Team Mode.
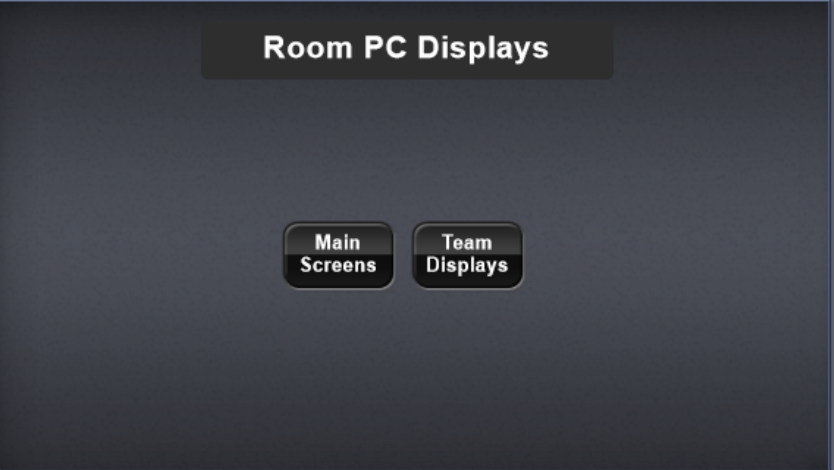 After selecting the input, select the destination.
What is Team Mode?
Team Mode is a setting for the Team Room AV System that sets each team's TV to show the local input from a laptop connected to the team table. This mode allows all Teams to work independently of each other. When Team Mode is off, all team table TVs act as one and will show the same content when directed to do so by the person running the control panel.
Display Mute for Team Displays:
Display Mute under the Team Displays header will mute all video going to the Team TVs. This will not impact the Projectors in any way. To turn the video mute for the projectors on and off, you will need to press the Mute
for each projector on the left side of the control panel.
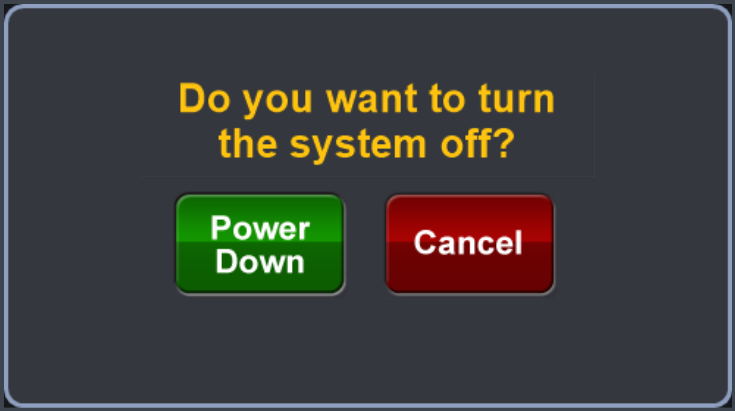
Shutting the system off is a two step process.
Step 1 is to press and release the red System Off button in the lower right of the control panel.
Step 2 is to press the green Power Down button that is shown in the center of the screen. This extra button is a confirmation in case a user accidentally hits the System Off button noted in step 1. If you see the confirmation page on the control panel but want the system to stay on, press the Cancel button.