AirTame: Sharing from the App
Using the AirTame App to wirelessly share computer content in equipped conference rooms:
Step 1 – Confirm that you are NOT connected to the Guest Wifi. You cannot use AirTame if you are connected to the Guest WiFi.
Step 2 – Open the AirTame App on your computer. [If you do not have the app and you are faculty/staff: CLICK HERE] Or go to airtame.com/Start to download and install the app.
Step 3 – You will find the room's network name or IP address in on the left side of the TV screen. You can either type the name or IP address in the search field of the AirTame App or you can scroll down the list of detected devices until you find the correct room listed.
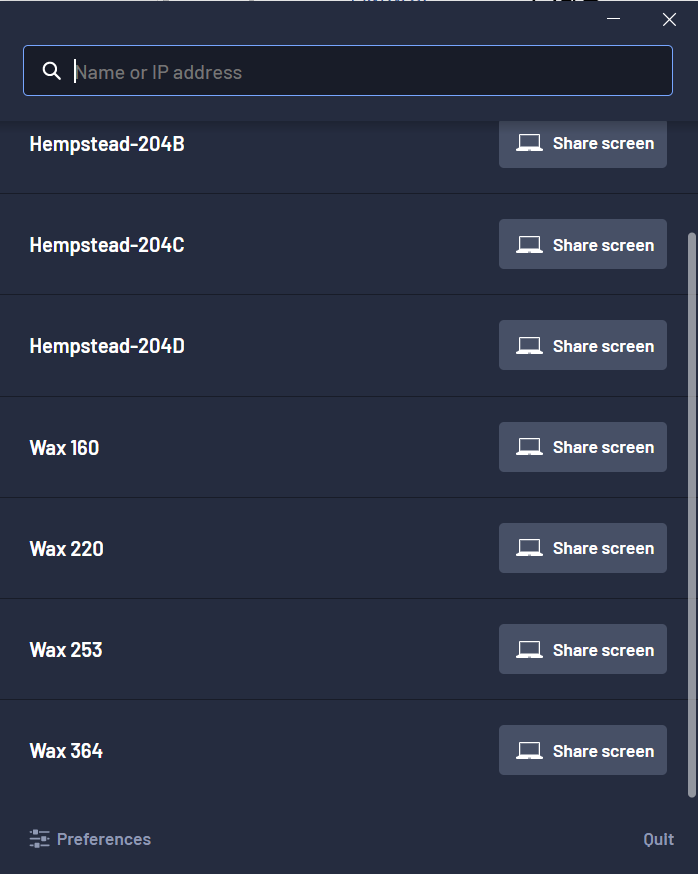
Step 4 - Once you find the correct entry on the list, move your mouse cursor over the entry and you will have additional options shown. Clicking the star outline will save this device making finding this room quicker in the future. You will also be presented the option of sharing either a specific window or your computer's entire screen.

Step 5 - All AirTames on campus are set to require a Pin Code. This is to prevent someone from outside of the room from sharing content. The code will be shown on the TV. Once the correct Pin Code is entered, the connection will be made automatically.

Step 6 - You are now sharing content over the network. All AirTames are set to NOT present audio when first connected. To activate sharing of audio, click on the speaker icon between the Screen sharing button and the Stop Sharing button. When the the audio button's background is dark, audio is not being shared, when the button background is white, audio is being shared.
 Audio is not shared
 Audio is being shared
To end sharing, click the red Stop button. There is no confirmation. Once disconnected, you will have to start at Step 3 to reconnect. Note that the Pin Code is randomly generated for every connection.